
To say I love macarons would be an understatement. There’s something about these little cookie sandwiches that ignites my taste buds and truly never gets old. When I was in college, my roommate and I would make regular visits to Ladurée, arguably the most famous macaron shop in the world, and load up on all of their delicious seasonal and classic flavors. The addiction became so real that we started collecting their macaron boxes, which changed in terms of artwork or color depending on the season or location. Between the two of us, we visited various Ladurée locations, from the original shop in Paris to Los Angeles, New York, and Miami. Like I said, the macaron obsession is completely real.
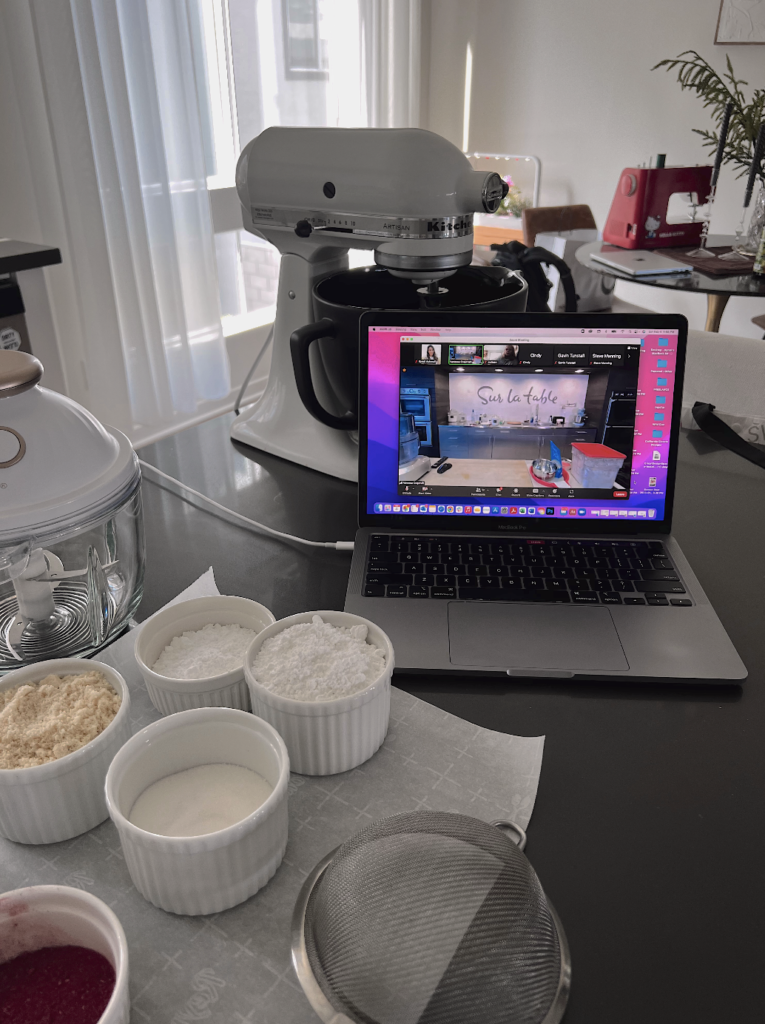
Not to be confused with macaroons, which are mounded cookies covered with coconut flakes, macarons are a French confection, not unlike a cookie sandwich, but smaller and made with a delicate meringue-based outer layer and filled with gooey jam, caramel, or chocolate. When I was younger, my mom always talked about the process of making macarons – how precise you needed to be with each step, and how finicky the ingredients could be. One tiny mistake with the batter or mixing time and your whole batch can go wrong. Because of this information, I knew I wanted to take an official macaron-making class the moment I had a chance, before I attempted the process on my own. The first place I looked was the first place I knew – Sur La Table. To my excitement, I found a Valentine’s Day-themed macaron instructional course, taught online via Zoom. I had such a wonderful experience, which you can follow on my Instagram, and I can now proudly say that my first time making macarons turned out beautifully successful. The macaron lover in me is ecstatic. I wanted to share the recipe below from Sur La Table, which we used during class, along with the notes I took along the way. I hope you find as much joy in the process as I did!
“It is believed that the macaron was actually born in Italy, and was made in Venetian monasteries since the 8th century. In 1533, they were brought to France by Catherine di Medici, however the first generation macarons were nothing like what we know them to be today, in that they did not have any filling. In 1792, two Carmelite nuns who were seeking asylum during the French Revolution in the town of Nancy baked and sold macarons as a way to support themselves. In a sense, they were instrumental in making macarons famous. In 1890, the Parisian confectioner La Maison Ladurée modified the pastry to include a variety of different fillings.”
– Culturally ours
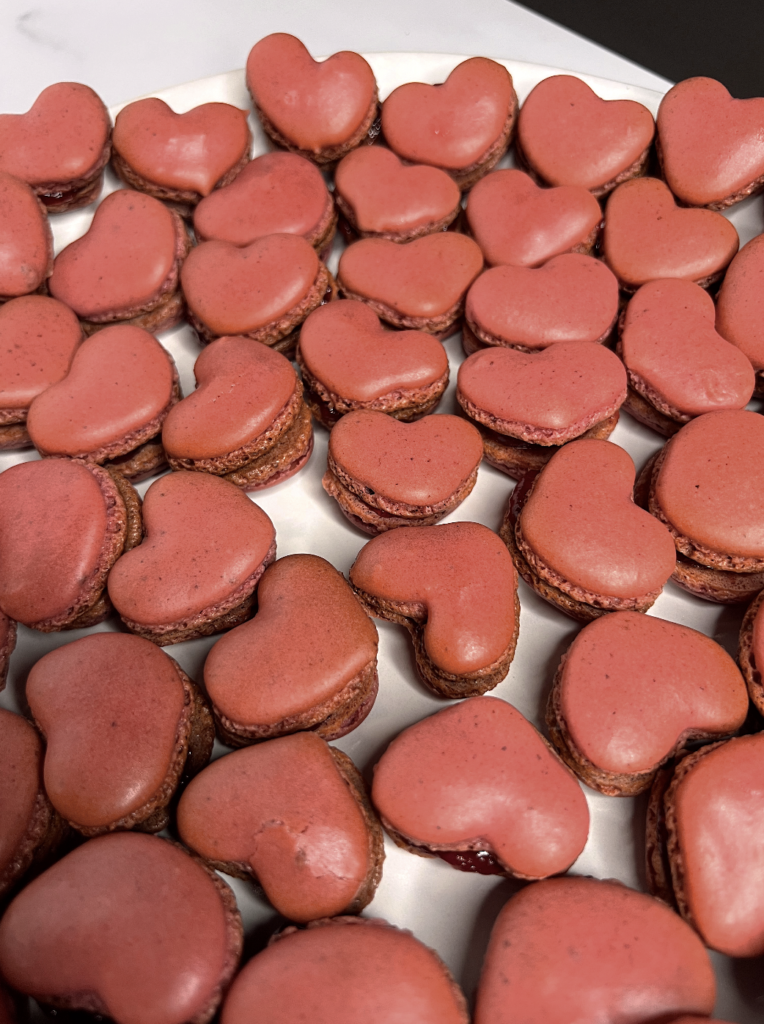
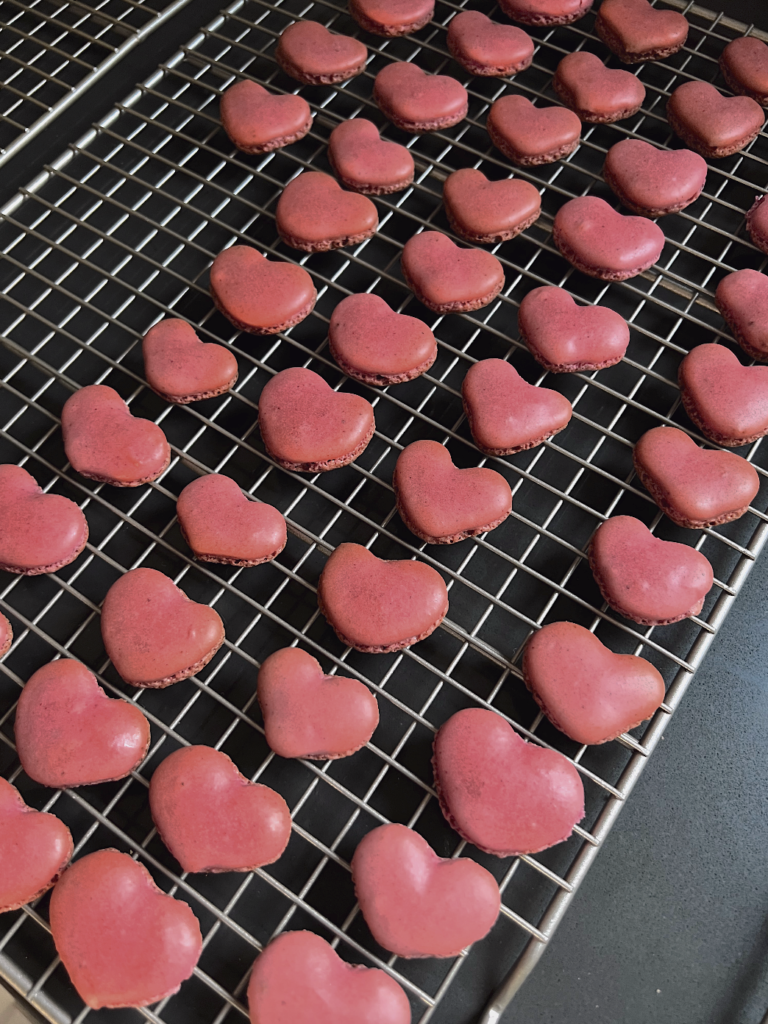
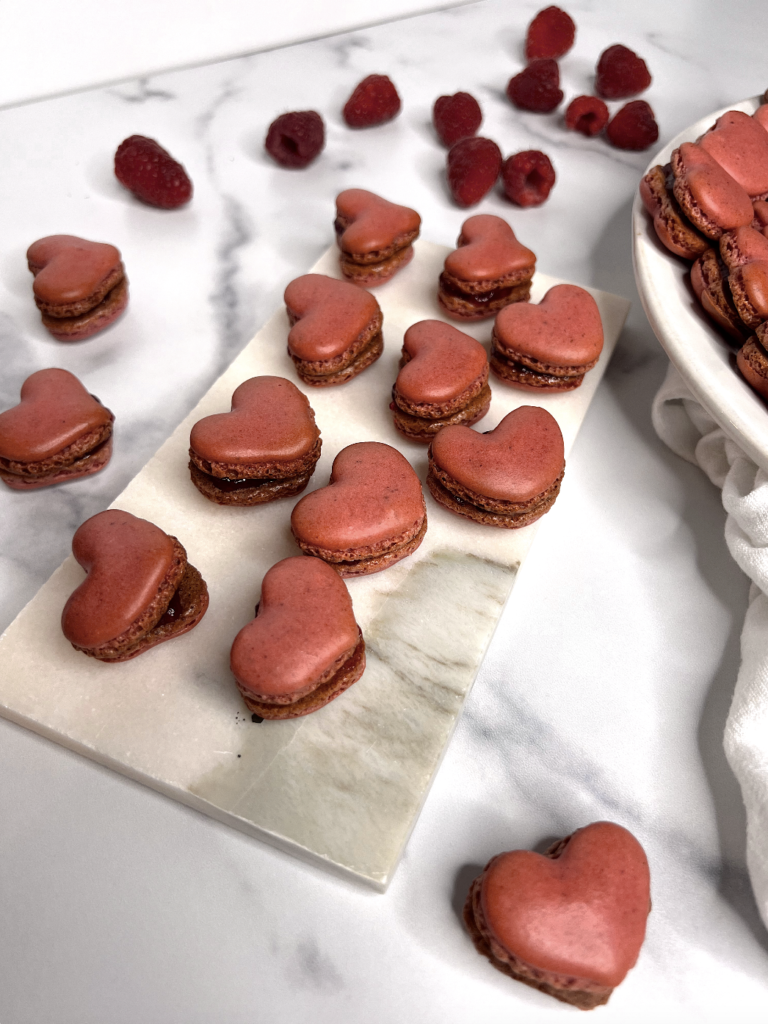
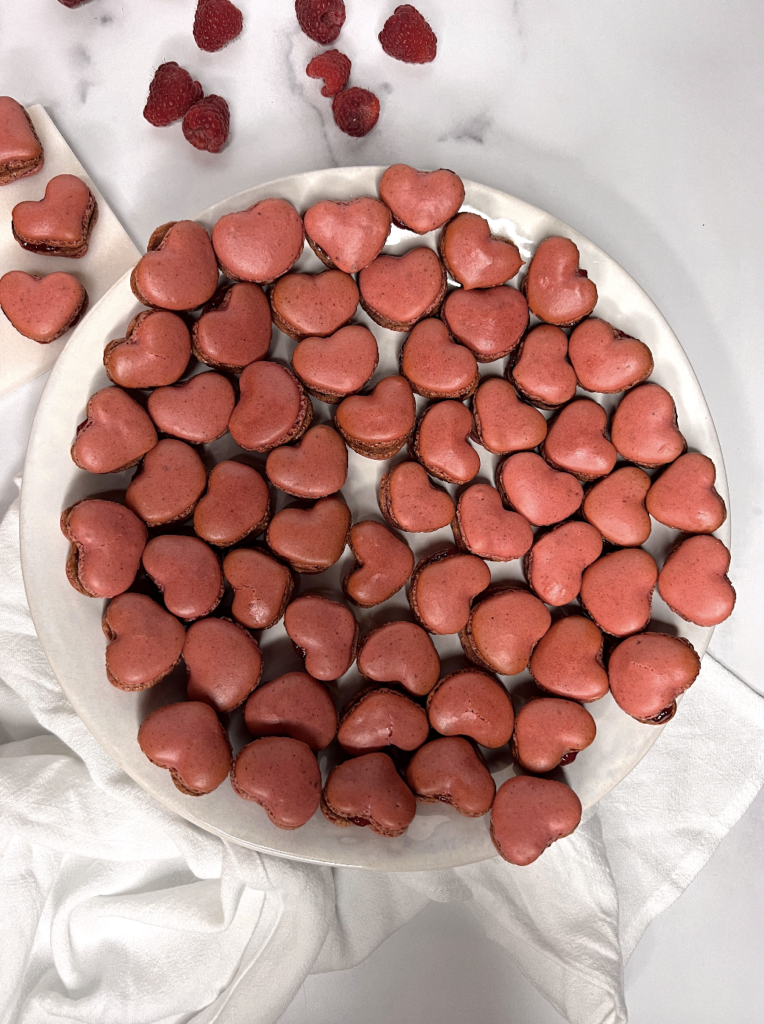
Heart-Shaped Raspberry Macarons
Ingredients
For Macarons
- 7 oz Confectioner's Sugar (Powdered Sugar) (approx. 1.5 cups + 2 tbsp)
- 4 oz Almond Flour or Meal (approx. 1 cup + 2.5 tbsp)
- 2 tbsp Freeze-Dried Raspberries (finely ground into a powder)
- 4 oz Egg Whites (room temperature, approx. 4 large eggs)
- 1/8 tsp Cream of Tartar
- 3.5 oz Granulated Sugar (approx. 7 tbsp)
- 1-3 drops Red or Pink Gel Food Coloring
For Raspberry Jam Filling
- 8 oz Fresh Raspberries
- 3/4 cup Granulated Sugar
- 1/4 cup Granny Smith Apple (about 1/4 of an apple; peeled and shredded)
- 1.5 tsp Freshly Squeezed Lemon Juice (from half of 1 lemon)
- 1 pinch Diamond Crystal Kosher Salt
Equipment
- 1 Fine Mesh Drum Sieve (drum size is recommended for quicker sifting)
- 1 Kitchen Scale (recommended, but can use measuring cups)
- 1 Candy Thermometer
- 1 Box Grater
- 1 Food Processor
- 1 Stand Mixer (recommended over hand mixer for quicker mixing)
- 1 Electric Spice Grinder (or mortar and pestle)
- 2 Large Pastry Bags
- 1 1/4" or 1/2" Plain Round Piping Tip
- 1 Heat-Safe Container
- Parchment Paper
Instructions
Prep Work
- Prepare all ingredients ahead of time; bring eggs to room temperature, and using a kitchen scale, measure out confectioner's sugar, almond flour, granulated sugar, and freeze-dried raspberries (finely ground into a powder using a spice grinder). Note: fluid ounces are not the same as ounces for dry goods, so it is recommended to use a kitchen scale, or use the measurements outlined by cups/tbsp.
- To prepare your baking sheets, line baking sheets with four sheets of heart-shaped macaron templates (linked in the notes below); place macaron templates on top of baking sheets and place a sheet of parchment paper over top of the templates.
- Wipe down the inside of the bowl of your stand mixer as well as the whisk attachment with white vinegar. You will use the stand mixer and whisk to make the meringue, which is very finicky, so make sure your bowl and whisk are spotless and free of all residue.
- Place a small plate in the freezer; we will use this later to test the consistency of the raspberry jam filling.
For Macarons
- In the bowl of food processor fitted with a metal blade, pulse the confectioner's sugar and almond flour into a fine powder, pulsing three times for 15-30 seconds. Repeat the three pulses one more time for 15-30 seconds.
- Using a fine-mesh sieve, sift the sugar and flour mixture two times, slowly adding in freeze-dried raspberry powder, onto a large piece of parchment paper or into a bowl with a spout. The mixture should have a very fine powdery texture with no lumps. Once sifted, set aside.
- In the bowl of a stand mixer fitted with a whisk attachment, add the egg whites and cream of tartar. Whip on medium speed (speed 4 on a KitchenAid stand mixer) until the whites and cream of tartar are combined. Then, slowly increase speed to medium high (speed 6 on a KitchenAid stand mixer), gradually adding the granulated sugar, stopping to scrape down the sides of your bowl as needed.
- With the mixture still on medium high speed, slowly add a few drops of food coloring until your desired color shade is reached. Continue to whip the meringue into stiff, glossy peaks, approx. 3-5 minutes. The meringue should have the consistency of shaving cream. Be careful not to over-mix, as it can "break" your meringue; check the consistency of your meringue every few minutes by dipping the whisk into the mixture.
- Once your meringue has reached proper consistency, remove the bowl from the stand mixer. Add one-third of the sifted almond flour mixture to the meringue and gently fold with a rubber spatula. Once loosely incorporated, add another one-third of the almond flour mixture and gently fold into the meringue. Add the remaining almond flour mixture, and begin deflating the batter by folding the mixture towards the center of the bowl, turning your mixing bowl each time as you fold. Repeat until the batter becomes shiny and reaches the consistency of slow-moving lava. Be careful not to over-mix; to check for the correct consistency, the batter should flow from your spatula in a slow, even ribbon without "breaking", falling into the bowl and disappearing into a smooth, glossy surface after 8-10 seconds.
- Once your batter has reached proper consistency, transfer to a pastry bag fitted with a 1/4-1/2 inch round tip. Begin piping onto your parchment-lined baking sheets, gently finessing your pastry bag (do not squeeze too hard), holding the tip of the pastry bag no more than 1/2 inch above the baking sheet. Follow the stencil of the heart shapes by starting on one side of the heart, dragging it down towards the center, and then back up to the other side of the heart.
- Once you've finished piping your baking sheet, gently lift your baking sheet 1/2 inch from your work surface and lightly drop or tap the baking sheet onto your work surface 1-2 times to release any air bubbles.
- Let the macarons stand at room temperature until a firm skin forms on the cookie; this can take anywhere from 30-45 minutes up to 1-2 hours depending on the temperature and humidity of your kitchen. To check to see if the macarons are ready, very lightly touch the tops and sides of your macarons with your finger. If you finger does not make a dent and no batter sticks to your finger, they are ready for the oven.
- **Note: While the macarons are setting at room temperature, I like to prepare my raspberry jam filling (see instructions in next section).
- Once the macarons are ready for the oven, preheat the oven to 300 degrees, positioning the rack in the middle of the oven. Bake the macarons one sheet at a time, for approx. 12-14 minutes, rotating halfway through around the 7-minute mark. I found that 12 minutes gave me the perfect texture, however Sur La Table recommends anywhere from 14-16 minutes.
- Carefully slide the macaron-topped parchment sheets onto a wire cooling rack and allow the macarons to cool completely before removing from the parchment paper.
For Raspberry Jam Filling
- Peel and shred apple, and measure out the raspberries. Add to a saucepan set over medium heat with sugar, lemon juice, and salt.
- Stir mixture frequently, bringing ingredients to a boil, until the sugar is completely dissolved. Adjust heat as needed so as not to burn the mixture. Continue stirring until thickened and registers 217°F to 220°F on a digital or candy thermometer, about 10-15 minutes.
- To test the consistency of your jam, place 1 teaspoon of jam on your chilled plate from the freezer and let cool for 2 minutes. Tilt the plate vertically; the jam should barely move, if not very slowly, on your plate. You can also place your finger through the jam without feeling a runny texture. If it is still runny, continue to boil your mixture until the proper consistency is achieved.
- Once your jam has reached proper consistency, press through a fine-mesh sieve into a heat-safe container and cool to room temperature before covering and placing in the refrigerator.
To Assemble The Macarons
- Gently remove the cooled macarons from the parchment sheets, matching up similar shapes and sizes to pair both sides of the macarons. Note: if macarons are sticking to the parchment sheet, transfer the macarons to the freezer for 3-5 minutes to release.
- Transfer the jam to a pastry bag fitted with a 1/4-1/2 inch round tip. Pipe no more than one teaspoon of filling onto the flat side of the macaron. Place another cookie, flat side down, over the filling and gently press just enough to push the filling out towards the edges.
– Substitute filling with your favorite pre-packaged jam, chocolate hazelnut spread, caramel filling, or chocolate ganache.
– To decorate the tops of your macarons with gold paint or similar accents, mix a few drops of vodka with the gold dust (or other decoration) until the texture of watercolor paint is achieved. Note that the vodka will evaporate once dry. For an alcohol-free mix, use a few drops of clear flavoring extract such as almond, vanilla, or lemon.
Watch my video recap of my experience with Sur La Table’s online cooking classes by clicking here.